


How to grow Hesperis
This member of the mustard family contains around 30 species of biennials and short-lived perennials. Most commonly cultivated by gardeners is Hesperis matronalis, or sweet rocket, grown for its highly fragrant, spring to summer flowers in shades of purple and white.

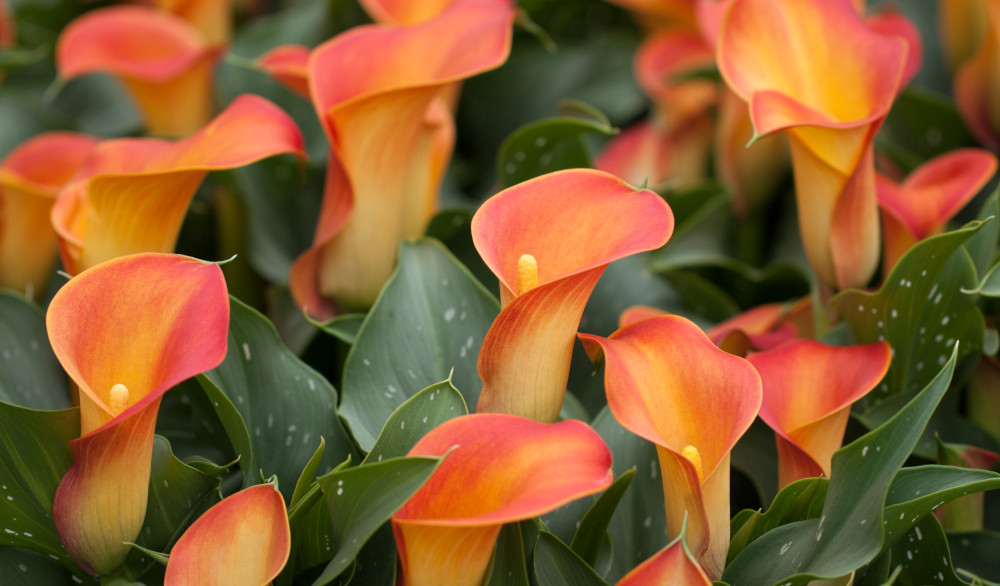
Zantedeschia is a genus of flowering plants from the family Araceae and is native to southern Africa. With a rich history dating back to the Ancient Romans, these deciduous or semi-evergreen perennials have been used as a symbol of celebration. Zantedeschia was Named after Professor Giovanni Zantedeschia, an Italian botanist.
There are two main forms of Zantedeschia: hardy and tender. Hardy forms of the plant can be grown outdoors, enjoy moist soil and full sun or partially shaded conditions - these are known as Arum lilies. Tender forms of Zantedeschia prefer being grown in containers or pots and should be brought inside over the winter - these are known as Calla lilies.
With tuberous flora in all colours from whites, yellows and oranges to deep reds and purples, Zantedeschias are not to be overlooked in any garden, as long as they have sufficient sunlight to grow in.
Ready to learn more about growing Zantedeschia? Read on for all there is to know...
Key Information
Soil pH

Position

Hardiness


Where & when to plant Hesperis
Position - Full sun to part shade
Soil - Fertile, moist, well-drained, neutral to alkaline
Flowering Period - Late spring to midsummer (and occasionally beyond)
Hardiness - Hardy
For best results, plant hesperis in autumn. A spring planting is also possible, though it seems to perform far better having had the cooler months to become established in the ground.
Hesperis is a cottage-garden classic ideal for the middle of a border. Its flowers are known to be very attractive to insects, making it an equally fine inclusion in wild gardens. Hesperis may also be grown in a container.
If left to set seed, hesperis will naturalise in all but the driest of soils. This can be used to great effect in large, vacant spots.
How to plant Hesperis
In the ground
· Clear the chosen area of weeds.
· Dig a planting hole several times larger than the root ball. Now is the time to give your soil a boost by adding well-rotted organic matter to the planting hole and mixing thoroughly.
· Place the plant in the hole, ensuring the top of the root ball sits level with the surface of the soil. Too low and the plant may rot, too high and the roots can dry out.
· Backfill with soil and firm in gently.
· Soak well with water.
· Mulch around the base with well-rotted organic matter.
In a container
· Choose an appropriate container, ensuring there are plenty of drainage holes in the bottom.
· It can be a good idea to fill large pots in situ, to save yourself the trouble of moving once full.
· For best results use a good quality potting compost with a few handfuls of horticultural grit mixed in. If not already present in the compost, add some slow-release fertiliser granules.
· Start by partially filling the pot with compost; enough so that when placed on it the upper surface of the root ball is about 3cm lower than the top of the pot.
· Infill all the space surrounding the root ball with compost, firming down with your fingers then adding a little more so the plant is held tight.
· Pick up the pot and lightly tap on the potting bench or ground a few times to help further settle the compost around the plant.
· Soak well with water.
· A mulch with horticultural grit will look attractive and help to prevent a ‘cap’ or crust forming on the top of the compost (something container plants can suffer due to the artificial nature of their watering).

What to plant with Hesperis
Kick the growing season off with a colourful and exuberant mix of early-flowering delights, combining hesperis with tulipa, lupinus, digitalis, allium, iris, cirsium, angelica, and silene. A few stipa mixed through will add texture and movement. Perfect!


How to care for Hesperis
Pruning and Deadheading
Deadhead regularly to encourage further flowering.
This species of hesperis is biennial, meaning it produces a low rosette of leaves in its first year, and flowers in its second year, after which it can be removed to the compost heap. Pruning is therefore not required.
Watering
Water until established and then in very dry spells thereafter.
Container-grown hesperis will need regular watering throughout the growing season. Allow the top few centimetres of compost to dry out between soakings.
Cold Protection
Hesperis is very hardy and able to withstand a UK winter outside without the need for additional protection.
Pests and Diseases
Hesperis can succumb to several problems such as viruses, mildew, flea beetle, and caterpillars. As always, we advise the first line of defence to be creating a healthy, balanced garden ecosystem and thus encouraging natural predators. This means choosing wildlife-friendly plants and eliminating use of chemicals, as well as using sustainable gardening practices (such as mulching) to provide optimum conditions for plant health. Researching the needs of individual plants and choosing a planting spot accordingly is also essential, as stressed plants are far more likely to succumb to pests and diseases than those which are thriving.
How to propagate Hesperis
The easiest way to have hesperis be a continuous presence in the garden is to allow plants to self-seed. All this requires of you is to leave seedheads intact until autumn and remember to leave new plants alone when weeding.
Alternatively, collect seed in early summer and sow immediately in pots or modules for planting out in autumn.
1. Fill pot or module tray with a mix of compost and perlite, giving it two or three taps on the potting bench to settle the mix.
2. Gently firm down the top of the compost with a flat surface (using whatever you have to hand – perhaps another pot or a piece of wood).
3. Scatter seeds thinly and evenly.
4. Sieve a thin layer of compost onto the seeds until they are just covered.
5. Water gently with a watering can, the rose turned upwards to create a softer flow (and prevent the seeds from being dislodged).
6. Place in a propagating unit if you have one, or on a sunny windowsill if not.
7. Water lightly and regularly.
8. Once the seedlings have emerged and are large enough to handle, transplant each into their own 9cm pot and grow on until it is time to plant out in autumn.
Common Hesperis Questions
Does hesperis self-seed?
Very much so. Hesperis will self-seed readily within the garden.
Should I prune hesperis?
As a biennial, hesperis is usually removed after flowering and therefore requires no pruning.
