


How to grow Petasites
There are 15 or so species of this member of the daisy family, though UK gardeners are likely to be most familiar with three. Our native species, Petasites hybridus (known as butterbur), is, like all petasites, a spreading, rhizomatous perennial. Preferring damp conditions, it is often found growing alongside streams or rivers, where in early spring it sends up stout, chunky, pink-tinged flower spikes. These are followed a couple of months later by a dense carpet of heart-shaped leaves. It is thought the common name may have arisen due to the historic use of the leaves to wrap butter.
Similar though distinguished by smaller leaves, an earlier, midwinter flowering period, and scented blooms (the native species has no fragrance), is the introduced Mediterranean species P. fragrans, or winter heliotrope. Brought to the UK in the 19th century to delight with its winter perfume, its vigorous, spreading nature saw it quickly escape from gardens to naturalise in the wild. This species is more tolerant of dry, poor soils than P. hybridus, and can often be found colonising parched, roadside strips and dusty, forgotten corners.
The third is a larger species from Asia, P. japonicus (giant butterbur). This one flowers in late winter, and is notable for its huge, rhubarb-like leaves up to 1 metre across. This is a popular plant for creating a lush, jungle-effect in bog gardens and damp areas, often alongside the similarly imposing gunnera.
Petasites have good garden value as an early source of sustenance for pollinators and dense, fast-growing ground cover. However, their enthusiastically spreading underground rhizomes mean existing clumps can expand quickly to the point of becoming a nuisance in the garden. Thankfully, digging out unwanted growth is both easy and effective.
Note that it is not a good idea to put these plants on the compost heap as they can regenerate from severed roots and rhizomes, and you may end up unwittingly spreading them all over your garden. Treat instead as you would pernicious weeds such as bindweed or creeping buttercup, which might mean putting them in a council collected garden waste bin (which is usually heat treated) or bagging up and disposing of at the local recycling centre.

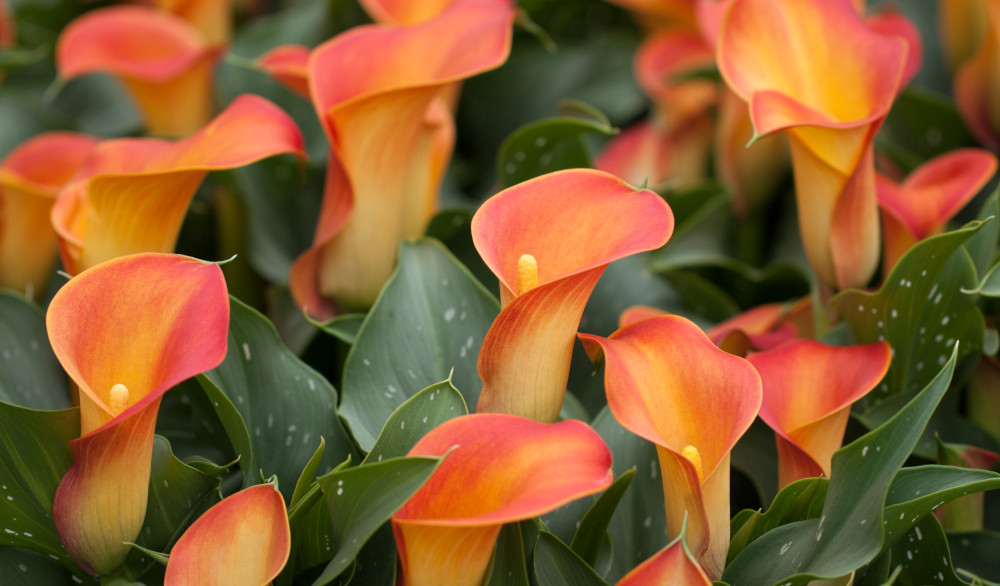
Zantedeschia is a genus of flowering plants from the family Araceae and is native to southern Africa. With a rich history dating back to the Ancient Romans, these deciduous or semi-evergreen perennials have been used as a symbol of celebration. Zantedeschia was Named after Professor Giovanni Zantedeschia, an Italian botanist.
There are two main forms of Zantedeschia: hardy and tender. Hardy forms of the plant can be grown outdoors, enjoy moist soil and full sun or partially shaded conditions - these are known as Arum lilies. Tender forms of Zantedeschia prefer being grown in containers or pots and should be brought inside over the winter - these are known as Calla lilies.
With tuberous flora in all colours from whites, yellows and oranges to deep reds and purples, Zantedeschias are not to be overlooked in any garden, as long as they have sufficient sunlight to grow in.
Ready to learn more about growing Zantedeschia? Read on for all there is to know...
Key Information
Soil pH

Position

Hardiness


Where & when to plant Petasites
Position - Partial or full shade is preferred
Soil - All grow best in deep, humus-rich, fertile, permanently moist though not stagnant soil.
P. fragrans (winter heliotrope) will also tolerate tougher, drier conditions.
Flowering Period - Varies according to species, though usually winter or spring.
Hardiness - Hardy, usually rated H5 (-10 to -15°C) or H6 (-15 to -20°C).
For best results, plant in autumn or spring. An autumn planting can be done by those gardening in mild conditions (and broadly speaking, this is the southern half of the UK). For those liable to cold, wet winters, it is best to wait until spring (generally the northern half of the UK, or those with very heavy soil). Planting can also be carried out in summer, though be prepared to water regularly.
The smaller-leaved petasites are a good choice for stabilising stream banks, or acting as a weed suppressant in shady, damp spots where little else will often grow. The larger P. japonicus is more of a statement plant for bog gardens, pond edges, and ditches.
Due to its natural urge to spread, petasites is not generally recommended as a container plant.
How to plant Petasites
· Give a good soak with water a couple of hours prior to planting.
· Dig the soil area over, removing any large stones and weeds and breaking up any lumps. Now is your chance to mix in plenty of well-rotted organic matter such as manure or garden compost (this will help retain moisture levels in the soil and provide lots of nutrients for healthy, lush growth).
· Rake level and firm with your heels. Rake level again.
· Dig a hole twice the width of the roots.
· Place the plant in the hole, ensuring the top of the root ball sits level with the surface of the soil. Too high and the roots can dry out, too low and the stems can rot.
· Backfill with soil and firm in gently with your foot.
· Soak well with water.
· Mulch around the base with well-rotted organic matter.

What to plant with Petasites
Pair smaller species with other damp shade-loving plants able to hold their own in the face of such keen spreading. Luzula, vinca, astilbe, hosta, hedera, and ajuga are some suitably tough cookies.
The giant-leaved P. japonicus needs companions on a larger scale. We suggest other bog-loving titans rodgersia, mattheuccia, and osmunda to create your own jungle heaven!


How to care for Petasites
Pruning and Deadheading
Old foliage can be removed once it has died down, and before the onset of new growth in late winter.
Watering
Most petasites prefer moist conditions and so, when grown outside, benefit from a good watering in on planting and then regular soakings until established. After this, and providing they are grown in the right conditions with an annual mulch (more on this next), they should need watering only in prolonged periods of hot, dry weather.
Feeding
On healthy, fertile soil, an annual mulch of well-rotted organic matter (i.e., a layer of manure or garden compost applied to the soil around the plant) should provide adequate nutrients for your petasites. This has the added benefit of suppressing weeds and locking in moisture, and is best done in autumn or spring.
Cold Protection
Once established, petasites is hardy enough to withstand a UK winter without the need for additional protection.
Pests and Diseases
Petasites is considered trouble free.
How to propagate Petasites
Rare is the need to propagate this vigorously spreading plant, though if you wish to introduce it to elsewhere in the garden or give to a fellow gardener, simply dig up a portion of an existing clump in autumn or spring:
1. Choose a day when the soil is not frozen.
2. Use a spade to sever and dig up an outer part of the plant.
3. Shake off any excess soil.
4. Discard old, damaged, or surplus pieces, keeping healthy, vigorous material.
5. Replant decent-sized pieces where desired, or pot up temporarily.
6. Water well until fully established.
* Many plants carry Plant Breeders Rights and cannot be propagated for commercial purposes.
Common Petasites Questions
· What do the flowers of P. fragrans smell like?
Their sweet scent is reminiscent of vanilla and marzipan.
· Is winter heliotrope (P. fragrans) related to the annual summer bedding plant heliotrope?
No. Heliotrope (Heliotropium) is a tender member of the borage family grown for its highly scented, deep violet flowers in summer. The common name of winter heliotrope is simply a nod to the intense fragrance of the flowers which, at some point, reminded someone of this summer bedding plant.
· I have an unwelcome patch of petasites in my garden which is smothering other plants. How do I remove it?
Firstly, consider whether you may be able to leave a small area of this plant as it does hold such great value to wildlife. To remove, you can use a spade or fork to dig out as much of the growth as possible (including roots and rhizomes). Doing this repeatedly will weaken and eventually eradicate the plant.
Other approaches less detrimental to soil health are to simply strim or cut back repeatedly over several growing seasons, or to cover with mulch and heavy grade biodegradable matting or black plastic for at least two years.
· Will petasites pop up all over the garden?
Petasites are dioecious, meaning plants are either male or female. The good news is the plants you see offered for sale are usually male plants, meaning seed dispersal is rarely an issue.
