


How to grow Pleione
Also known as the windowsill orchid, pleione is a small deciduous orchid from moist forest and woodland in North India, South China, and Taiwan. Unlike most orchids pleione doesn’t need heat, meaning it is particularly easy to grow as a houseplant. It is valued for its showy blooms which can appear at various times of year, though most usually in spring before the leaves. Expect each flower to last around three weeks.
Pleione is a miniature plant, rarely reaching more than 10-15 centimetres in height. The pseudobulb from which it grows will shrivel and die after one year, though not before having produced one or two replacements. It is best to repot these before flowering, discarding the old, dead pseudobulb and placing the new in clean, fresh compost.
There are around 20 species of pleione, from which over 250 garden hybrids have been created.

Zantedeschia is a genus of flowering plants from the family Araceae and is native to southern Africa. With a rich history dating back to the Ancient Romans, these deciduous or semi-evergreen perennials have been used as a symbol of celebration. Zantedeschia was Named after Professor Giovanni Zantedeschia, an Italian botanist.
There are two main forms of Zantedeschia: hardy and tender. Hardy forms of the plant can be grown outdoors, enjoy moist soil and full sun or partially shaded conditions - these are known as Arum lilies. Tender forms of Zantedeschia prefer being grown in containers or pots and should be brought inside over the winter - these are known as Calla lilies.
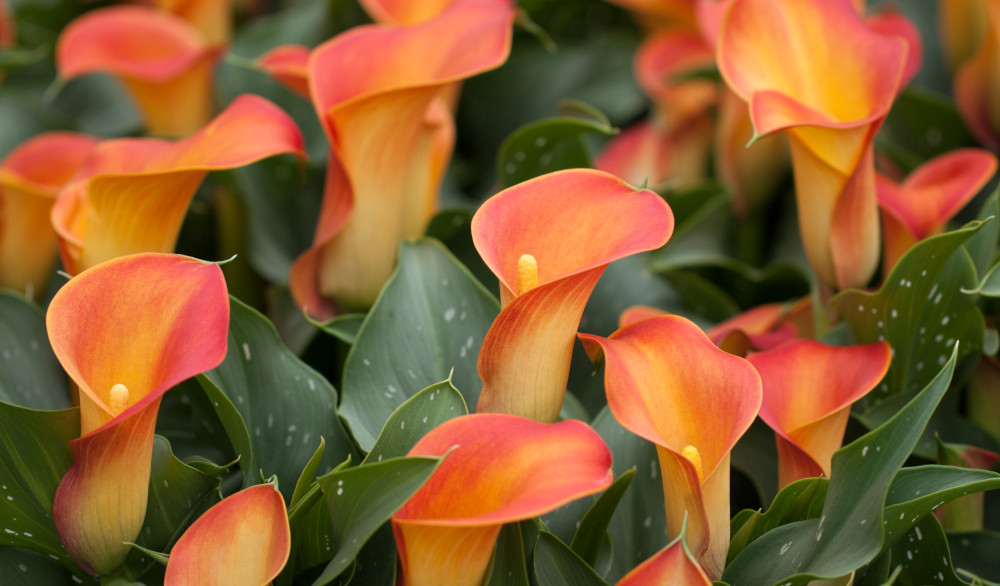
With tuberous flora in all colours from whites, yellows and oranges to deep reds and purples, Zantedeschias are not to be overlooked in any garden, as long as they have sufficient sunlight to grow in.
Ready to learn more about growing Zantedeschia? Read on for all there is to know...
Key Information
Soil pH

Position

Hardiness


Where & when to plant Pleione
Position - Bright, filtered light
Soil - Terrestrial or epiphytic orchid compost
Flowering Period - Usually spring
Hardiness - Half-hardy (H3, 1 to -5°C)
Pleione is often sold bare root, and can be potted up any time during dormancy (October to early March). The ideal place for pleione is a spot with plenty of brightness, though not harsh, direct light. This might mean a windowsill which receives morning sun or is shielded by a net curtain, or on a table or shelf slightly set back from a sunny, south-facing window. Alternatively, grow in a cool to temperate greenhouse with shading or whitewashed windows during the summer. Pleione doesn’t like getting too hot (preferring to remain below 25°C) and enjoys good ventilation, so try to get in the habit of opening nearby windows or even running a fan during hotter periods.
If you garden in an unusually mild part of the UK (perhaps in a coastal or urban microclimate), you may get away with growing your pleione in the open ground and leaving it outdoors all year round. Plant in mid-spring, choosing a partially shaded spot with shelter from strong winds, and sharply drained, leafy, humus-rich soil.
How to plant Pleione
· For planting in containers, a wide, shallow pot is recommended – these are not deep-rooting plants and a deeper pot tends to mean unused compost sitting wet at the bottom. Always ensure there are plenty of drainage holes.
· Use a good quality specialist orchid potting compost labelled either terrestrial or epiphytic.
· Fill the pot with compost, leaving a gap of about 3 centimetres between the surface and the top of the pot. Pick up the container and lightly tap on the potting bench or ground a few times to help settle the compost. Top up with more if necessary.
· Insert the pseudobulbs into the compost, spacing 2 centimetres apart from one another. Leave the top third of each poking out.
· Soak well with water.
· A mulch with horticultural grit or fine bark will look attractive and help to prevent a ‘cap’ or crust forming on the top of the compost (something container plants can suffer due to the artificial nature of their watering).
- For planting in the garden, dig the soil area removing any large stones and weeds and breaking up any lumps. Dig in generous amounts of leaf mould and grit or sharp sand.
- Push the pseudobulbs into the ground, again leaving the top third of each poking out.
- Soak well with water.
- Mulch around the base with leaf mould.

What to plant with Pleione
Indoors, you may wish to pair pleione with similarly delicate companions such as bletilla (another type of orchid) and the dainty evergreen fern, doodia.
Outside, use it to create a twinkling, woodland scene with other rare curiosities such as melittis, cypripedium, and tricyrtis.


How to care for Pleione
Pruning and Deadheading
There is no need to deadhead pleione, though you may remove spent flowers for aesthetic purposes if desired. Allow foliage to yellow and die back naturally at the end of the growing season – this process plays an important role in producing healthy replacement pseudobulbs for next year.
Watering
Water container-grown pleione freely from early spring onwards, temporarily reducing as the flowers fade and the leaves begin to emerge. This short period is when the roots form, and the aim is to keep the compost minimally damp to encourage a healthy, searching growth habit (too much water at this stage can cause stunting and even root rot). Once the roots are well-established – often indicated by rapid leaf growth – you may return to watering freely. Pleione receives the summer monsoon in its natural habitat, so it’s hard to overdo it during this time.
As growth slows in autumn, it’s time to scale your watering back once more to just enough to prevent the compost from drying out completely. Once the leaves have yellowed and withered, stop watering completely. The leaves will then brown and fall off, indicating the pseudobulbs entering their dormant phase.
In the ground, water a handful of times initially then allow the rain to do the rest. You should only need to water again in the event of an unusually prolonged period of hot, dry weather during the growing season.
Repotting
We recommend repotting your container-grown pleione annually. This can be done anytime during the dormant period.
· Empty the container onto a potting bench or table – you should hopefully find a mass of roots.
· Gently knock this on the potting bench to release compost held within.
· Carefully tease apart the pseudobulbs and their roots. Trim the roots to stubs of 3-4 centimetres.
· The pseudobulbs which produced flowers the previous spring will now be shrivelled and can be discarded. Keep the healthy, plump replacements (each pseudobulb usually produces one or two of these).
· Either pot up immediately as above, or store in a paper bag in a cool, dry environment.
Feeding
When grown in a container, pleione needs regular feeding in order to produce healthy, replacement pseudobulbs. Feeding should start once the leaves are growing rapidly (usually around late May) and continue until growth slows in autumn. Use a balanced, liquid feed mixed to half the recommended strength (like many orchids, pleione resents strong fertilizer), applied fortnightly.
In the ground, an annual mulch of leaf mould should provide sufficient nutrients for your pleione.
Cold Protection
Pleione is unlikely to survive a hard frost. Only grow outdoors if you can offer an unusually mild microclimate, and even then, it may be worth covering the pseudobulbs with a dry, insulating mulch such as straw, bracken, or a pile of bark chips. Remember to remove this before growth starts in spring.
Pests and Diseases
Indoors, the usual issues such as spider mites, mealy bugs, and scale insects can crop up. As always, we recommend the first line of defence to be taking the time to get the growing conditions right, as healthy, thriving plants are considerably less susceptible than those already under stress.
Spider mites and scale insects flourish in dry conditions, so keeping your pleione properly watered (see above) is an excellent preventative.
Mealy bugs tend to be brought in, so inspect all plants thoroughly before introducing them to your home. Infestations can be tackled by wiping off by hand, or (during the warmer months) moving your plant outside to allow natural predators such as blue tits to pick them off.
Slugs love pleiones, particularly when growth is young and fresh. If these are known to be a problem in your garden, you may be better growing pleione inside. Otherwise, encouraging natural predators into your garden, such as birds, frogs, toads, and hedgehogs makes a big difference. Torchlight searches after dark (when slugs and snails are at their most active) are also effective, allowing you to collect the offending molluscs in a bucket and dispose of as you see fit. Relocating to a nearby woods or bagging up and putting in your freezer before popping them in the bin are said to be the most humane approaches.
How to propagate Pleione
Given the right conditions (light, water, feed), pleione naturally propagates itself each year with the formation of replacement pseudobulbs attached to the old.
Detach and repot these as above in our ‘Repotting’ section.
* Many plants carry Plant Breeders Rights and cannot be propagated for commercial purposes.
Common Pleione Questions
Are there other species of pleione?
Yes, around 20, though P. formosa (windowsill orchid) is the one usually sold by UK nurseries and garden centres. Common names for other species include peacock orchid, glory of the east, Himalayan crocus, and Indian crocus. Many of these are much trickier to grow than P. formosa and tend to be the reserve of specialists.
Is pleione safe to have in the home?
Pleione has no reported toxic effects on humans or animals.
